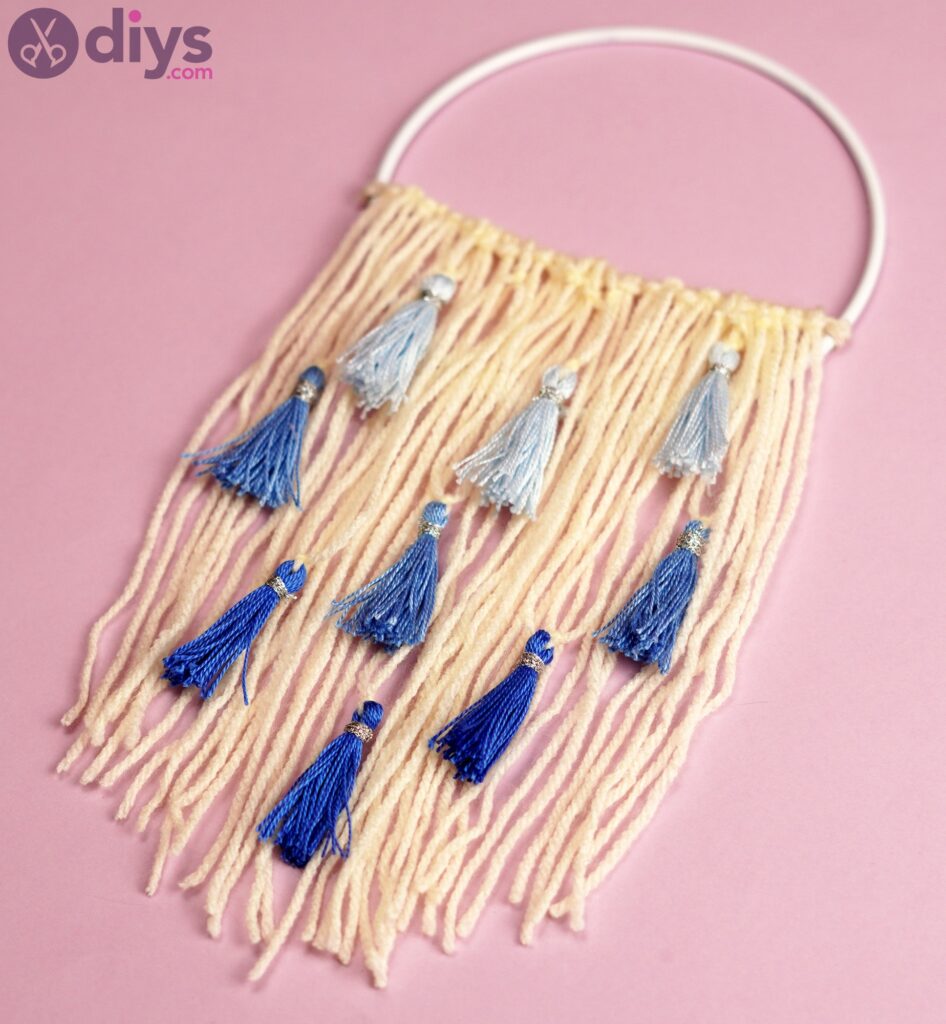
DIY Hoop and Yarn Wall Hanging - Make A Beautiful Decoration for Your Wall
Beautiful wall art can make your house expect more beautiful than it already is, and creating something yourself will bring you a lot more joy and a sense of accomplishment. And then, let'southward see how we can make a beautiful hoop and yarn wall hanging!
It'southward going to be so cute on your wall! Also, it volition make a wonderfully thoughtful gift and anyone would be lucky to receive this!
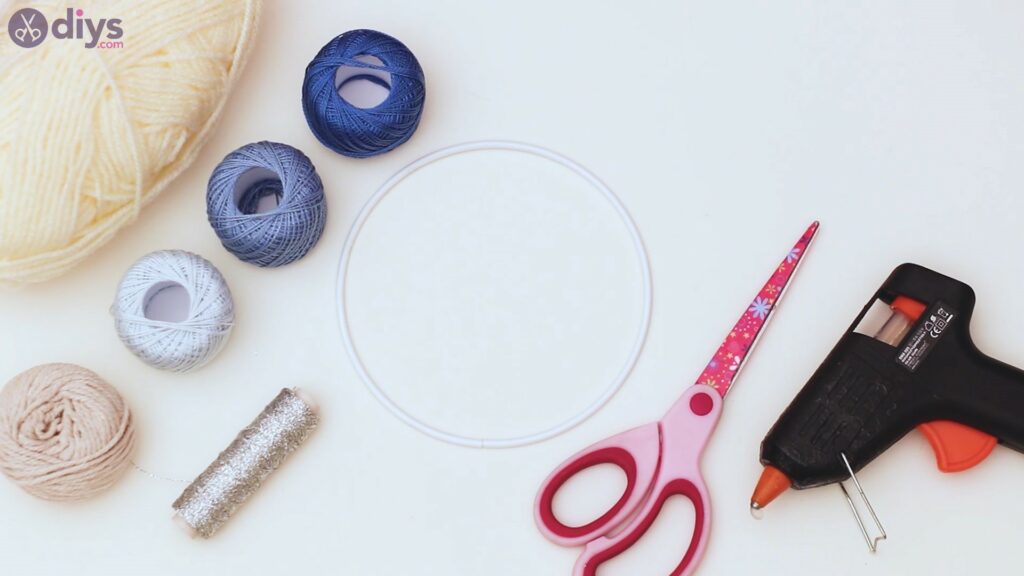
Materials for hoop and yarn wall hanging
- metal band
- foam yarn
- three shades of blue embroidery thread
- hemp twine
- gold thread
- scissors
- glue gun
How to make a hoop and yarn wall hanging
Before we fifty-fifty get started on creating this cool hoop and yarn hanging, make sure you have everything gear up. Much like it happens when you cook, information technology'southward a not bad time-saver to take all your 'ingredients' on hand. Permit's get started at present!
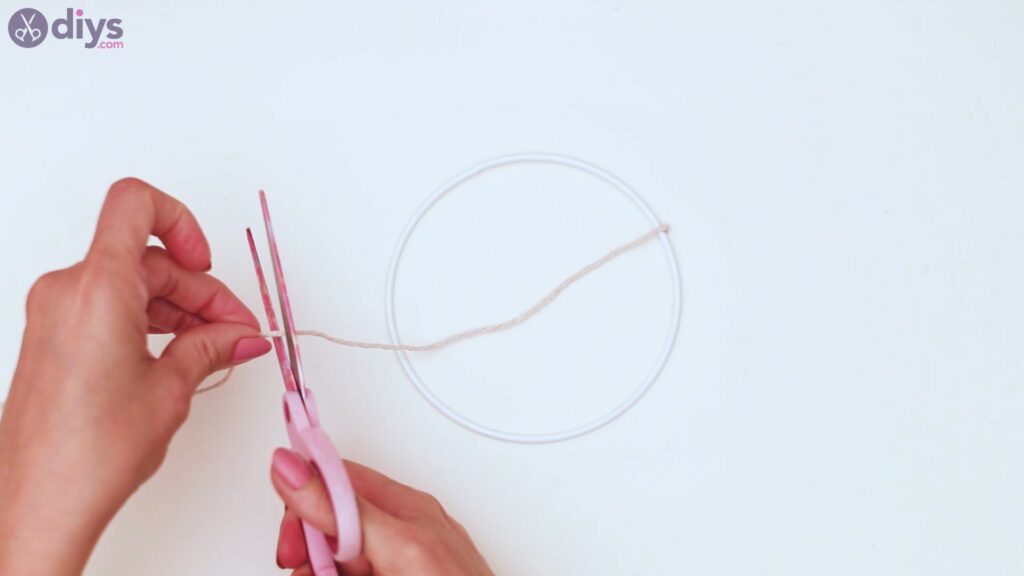
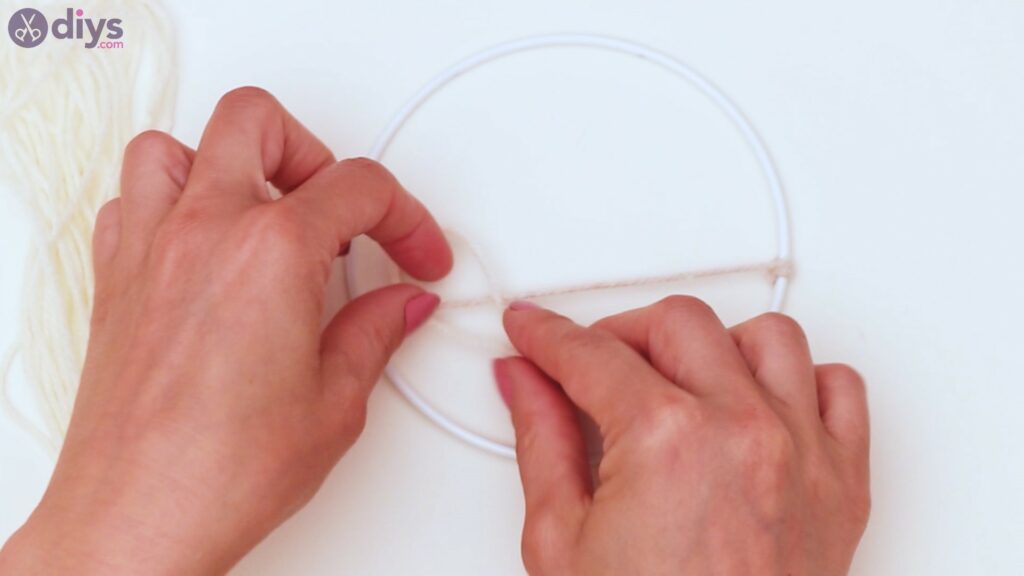
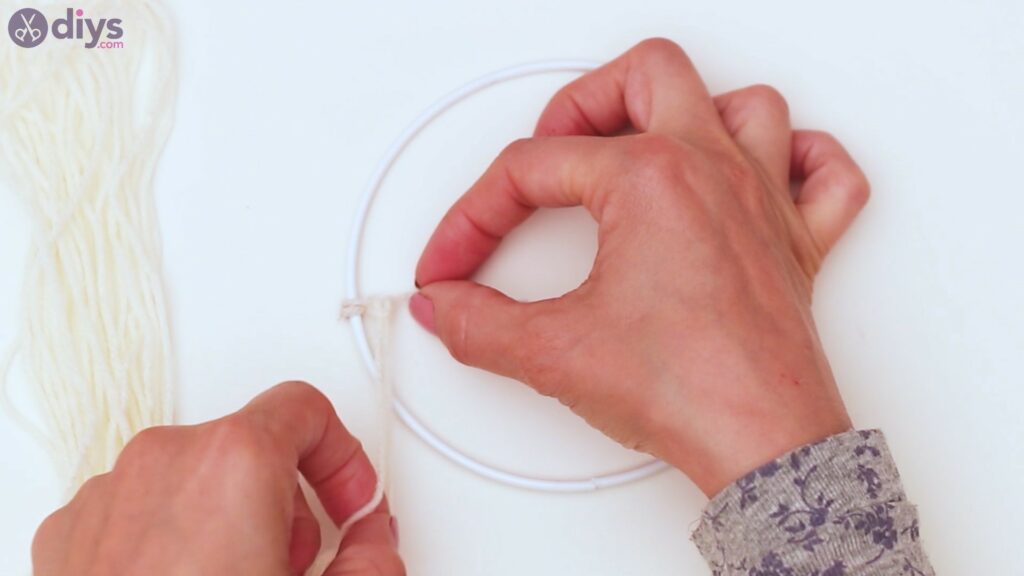
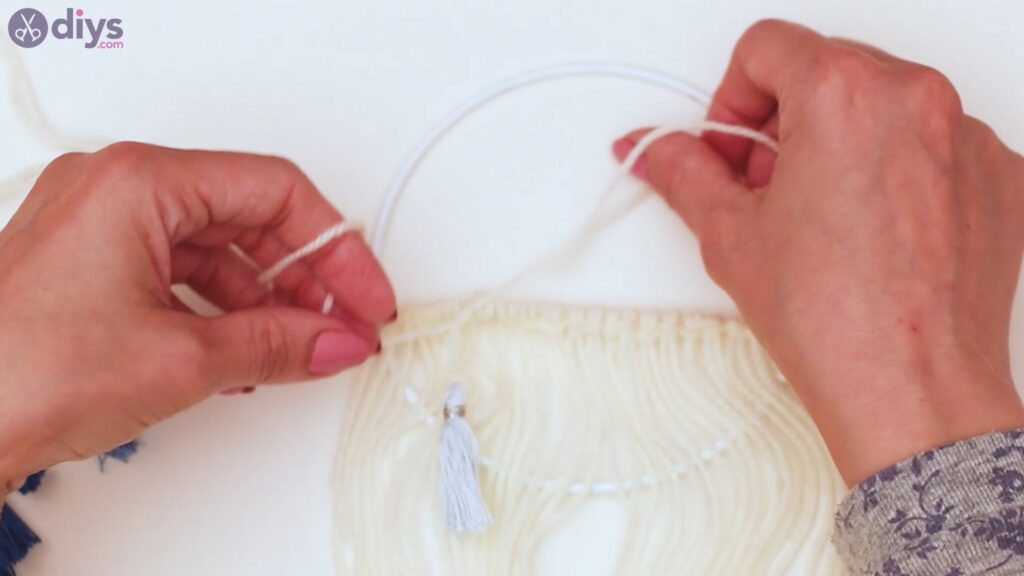
Footstep ane: Tie the base of operations line
We're going to start our project by tying a base line effectually themetallic hoop.Get yourhemp twineand necktie it on a spot on the circle. You lot want to get thegum gunand add together a dab of hot glue to the spot, to make sure the twine isn't going to move.
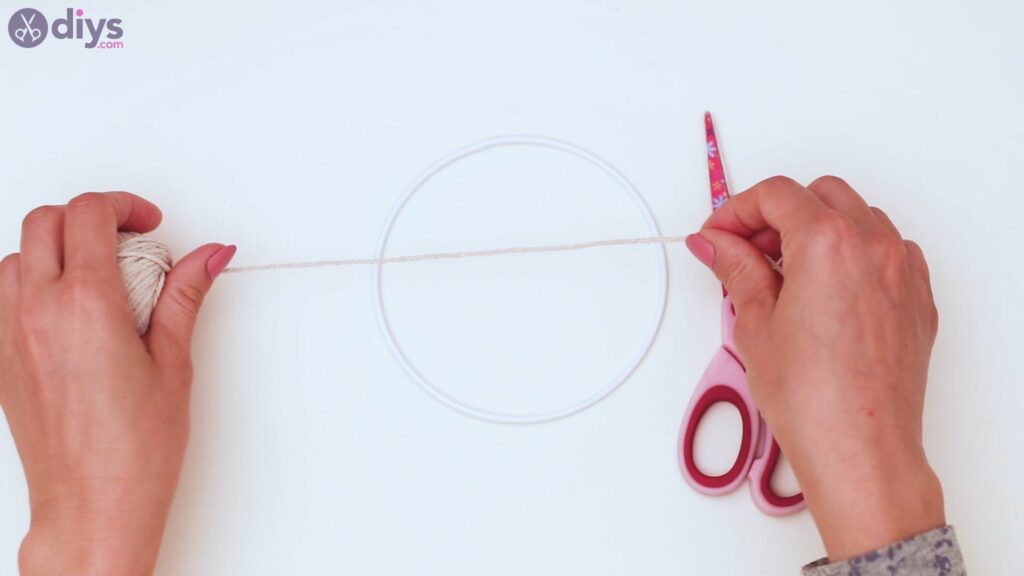
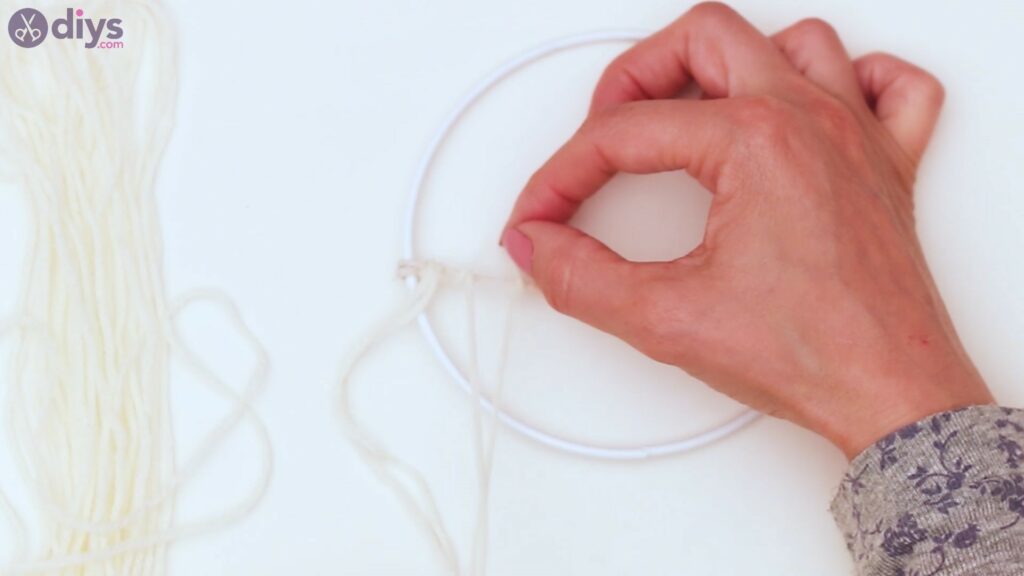
Cut the thread, allowing it a bit of extra length than the circle needs.
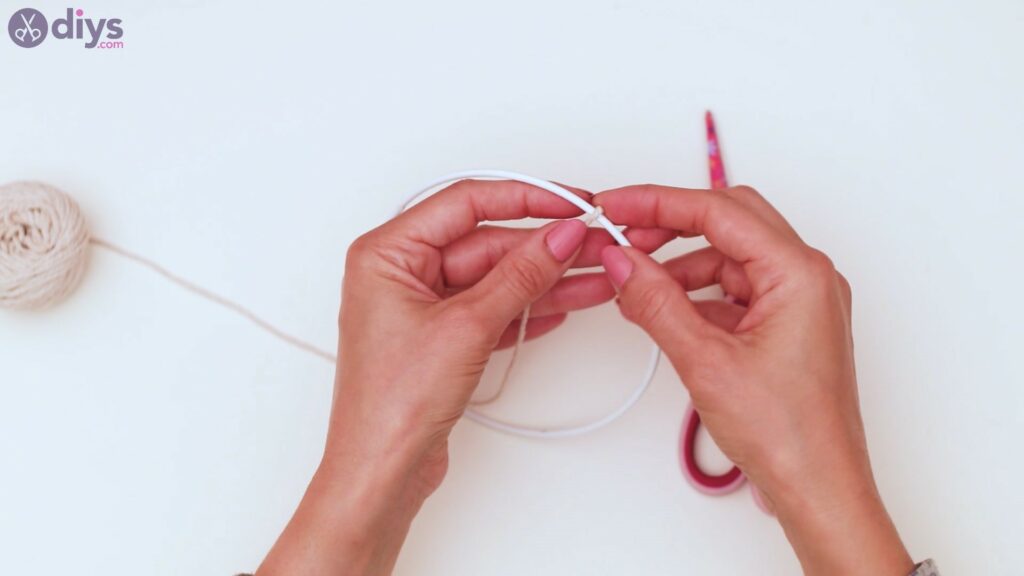
Wrap it around the metal hoop again, somewhere across the spot where you already glued it downwards.
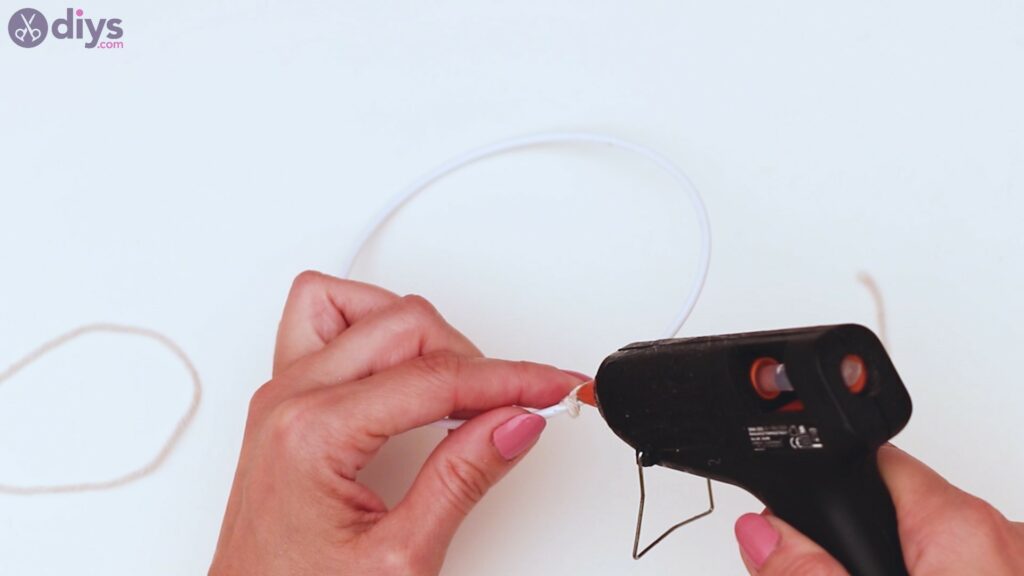
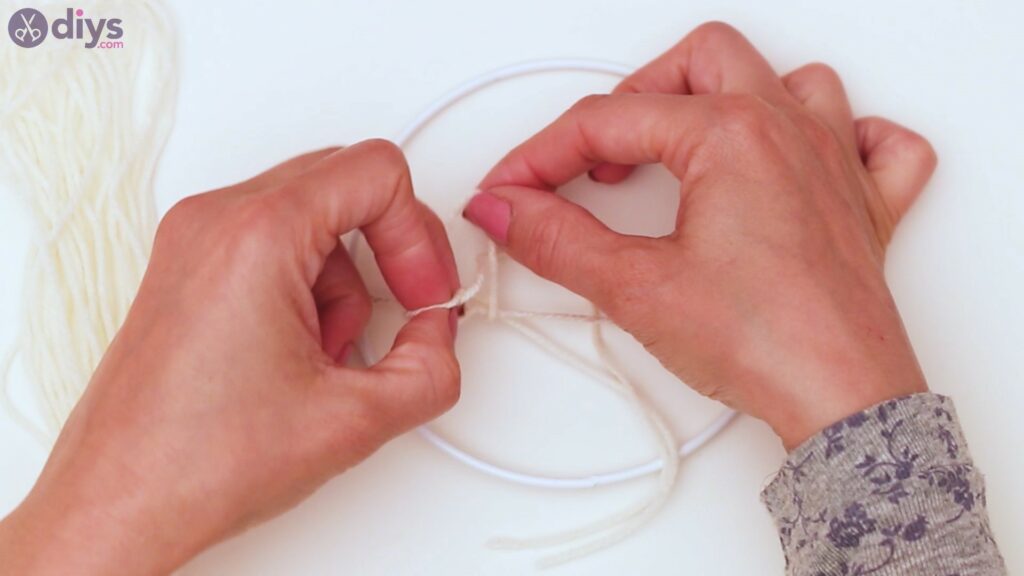
Once again, add hot glue to the spot to make certain the thread isn't going anywhere.
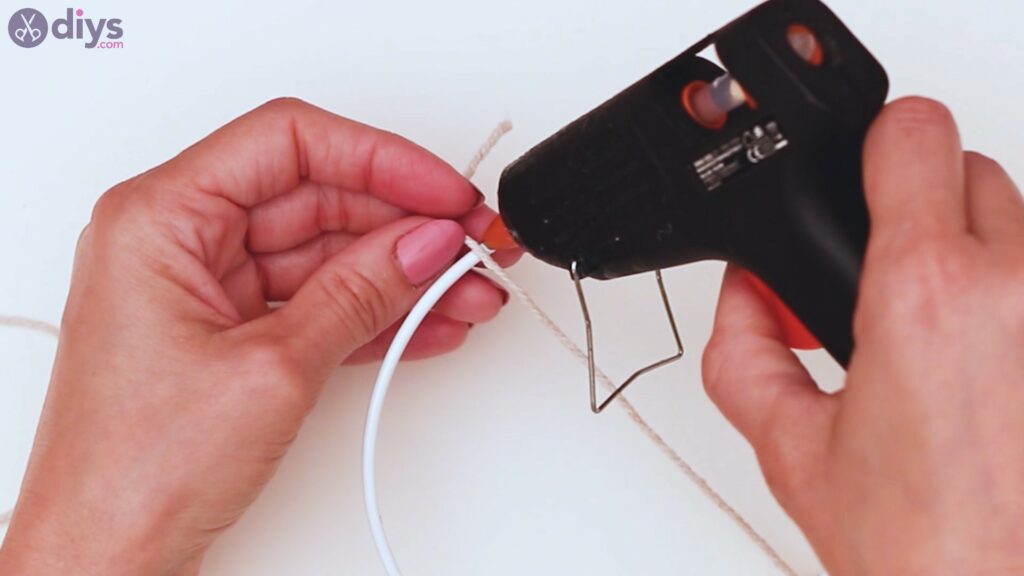
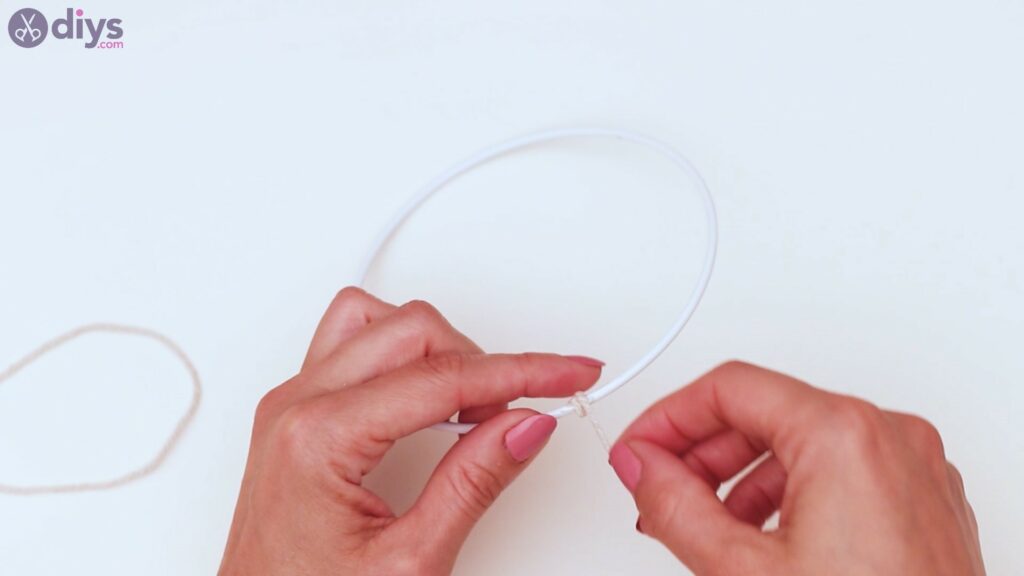
Wrap the thread effectually the metal hoop a couple of times.
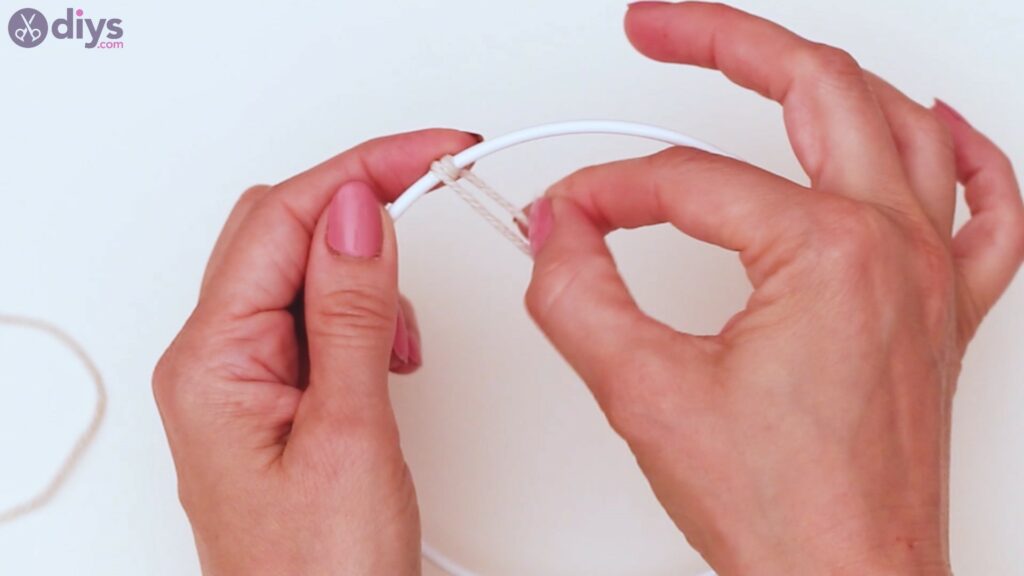
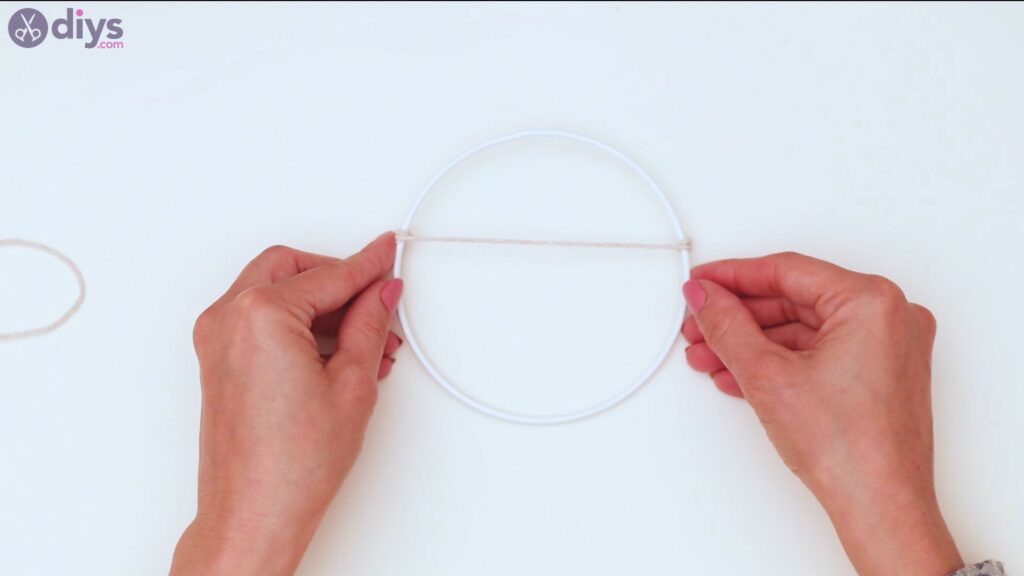
This is how your metal hoop should look past the finish of our first stride. As yous can see, the thread is tied just a chip higher up the centre of the circle.
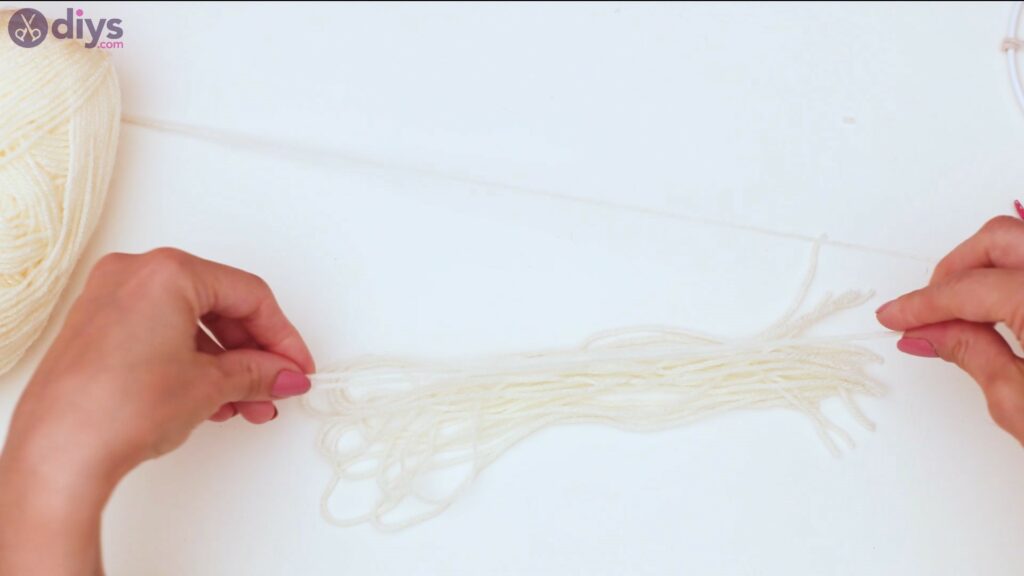
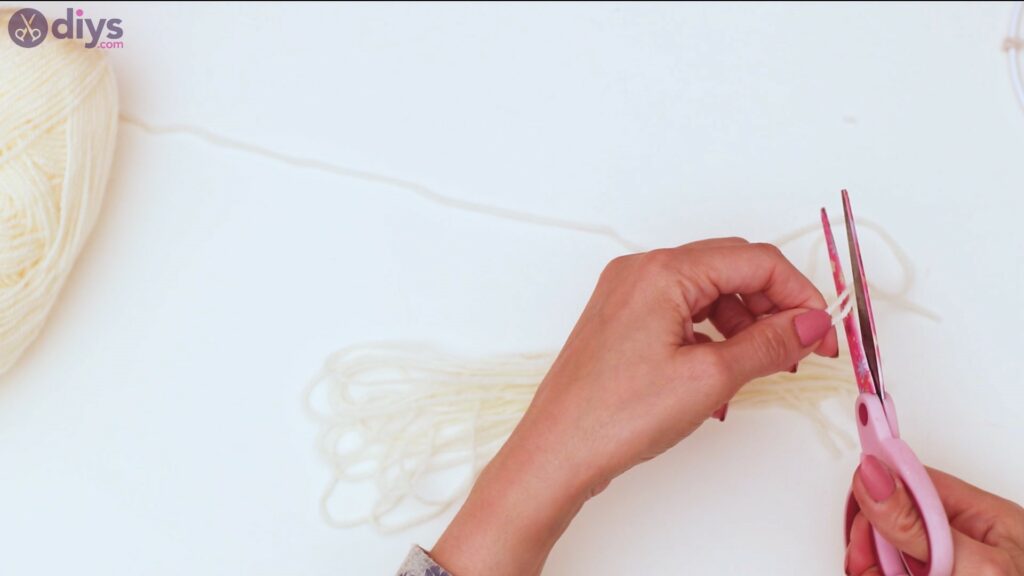
Step two: Prepare the cream yarn
Next, we need to go the cream-colored yarn and start cut out loops. Double the thread and then cut it with yourpair of scissors.Endeavor to give all threads the same length earlier cutting them.
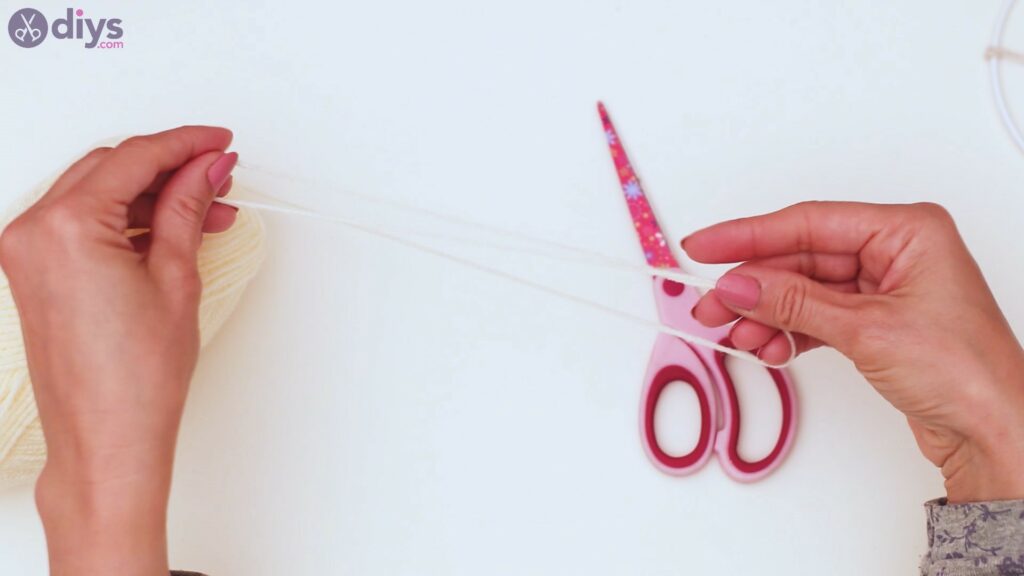
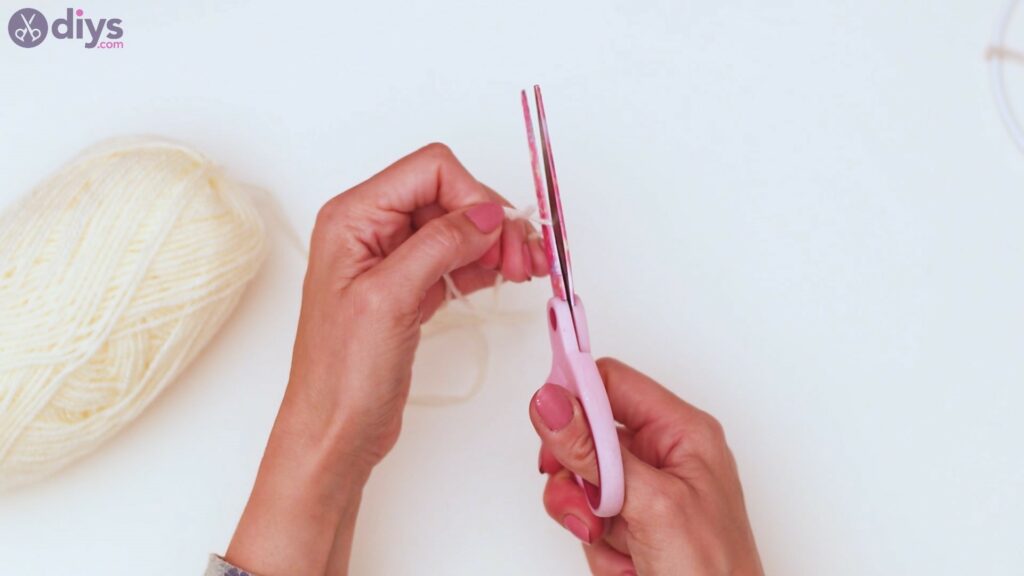
Create a big pile of threads as you'll need quite a few of them.
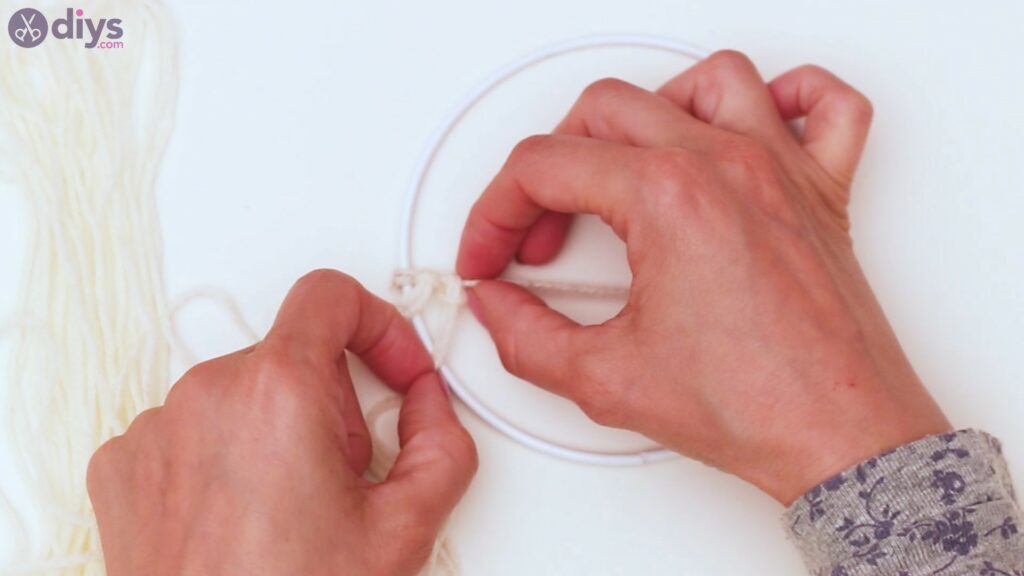
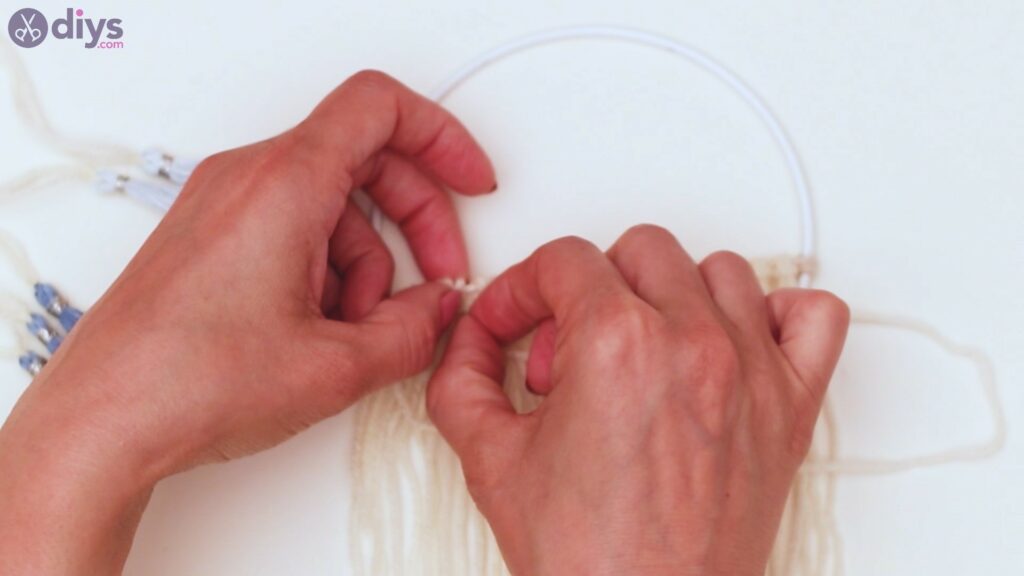
Footstep iii: Add the cream yarn to the hoop
Adjacent, nosotros demand to start adding the foam yarn to the hoop. Pick up ane of the double threads you have and identify information technology on top of the base of operations line you tied earlier on the metal hoop.
Bring the ends of the thread through the loop, over the base thread. It'due south a pretty easy blazon of knot, unremarkably chosen cow's hitch.
Push the starting time thread to the border of the base tread, near the metallic hoop.
Go on calculation the threads you cutting before, duplicating the move – push the ends of the thread through the loop.
Add more yarn pieces until you lot've covered the entire base line with them.
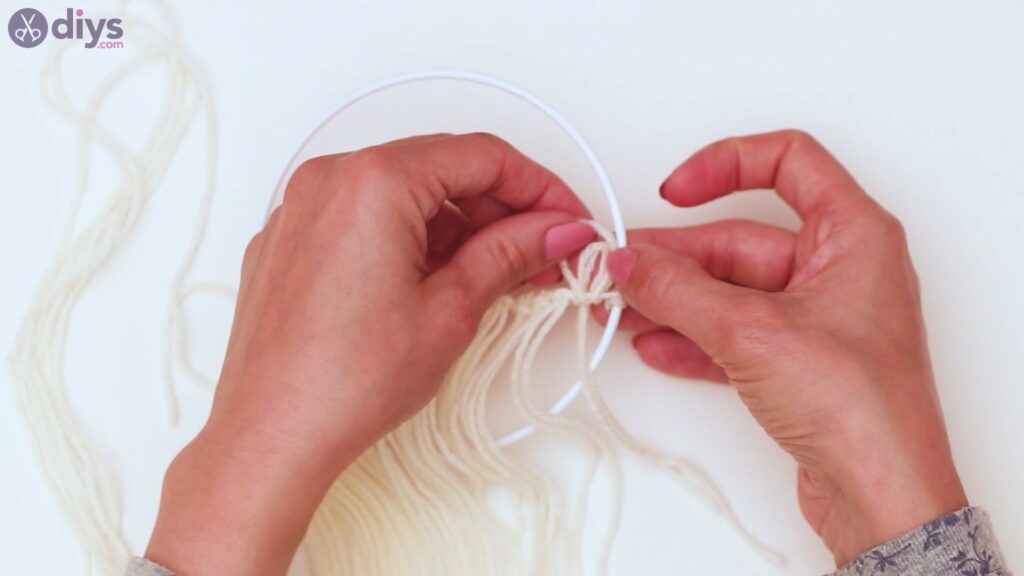
There yous become! If yous've cut too many of them, that'southward no trouble since y'all'll need extras later. If you're short, add some more. Also, please make sure you do the knots on the same side, and so they await neat as in the pic.

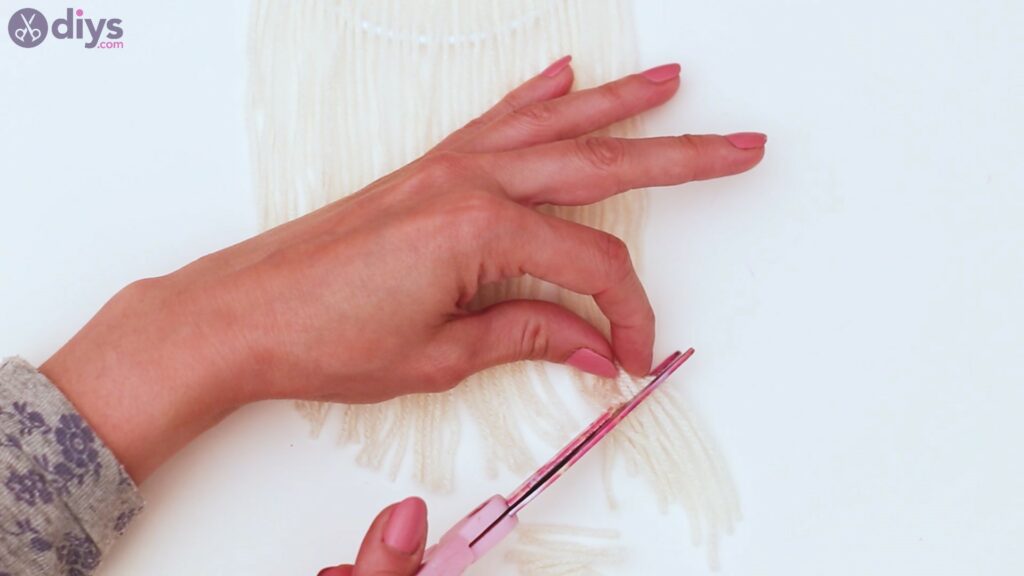
Step 4: Cut the yarn
At present that all the yarn pieces are neatly arranged on the base thread, you lot tin go alee and get your pair of scissors. After yous accommodate the threads one time more, you lot can starting time trimming the yarn.
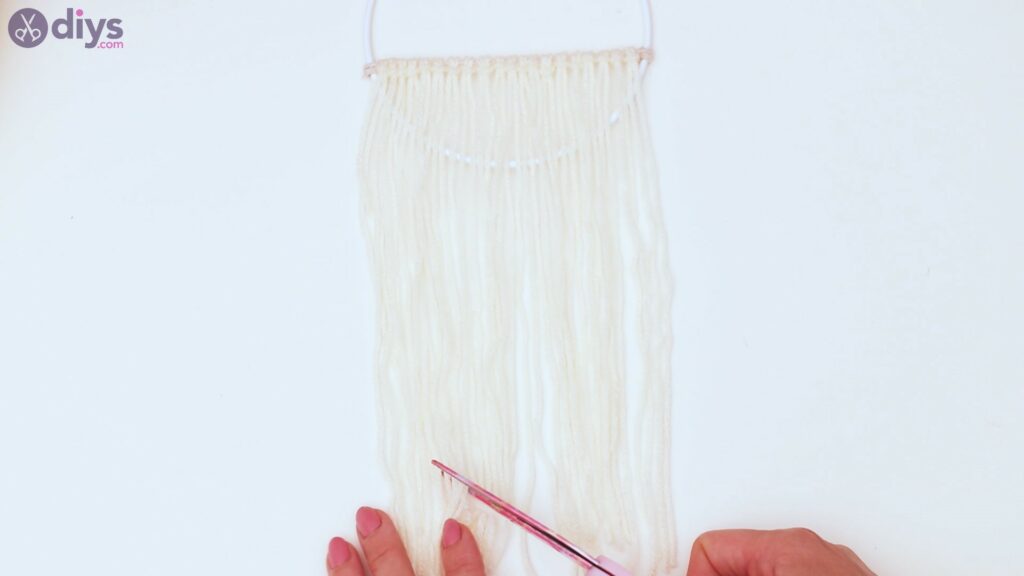
We chose to practice this at an angle. Figure out which area is the eye here, and go upwardly both left and right. Don't brand the cut too abrupt.
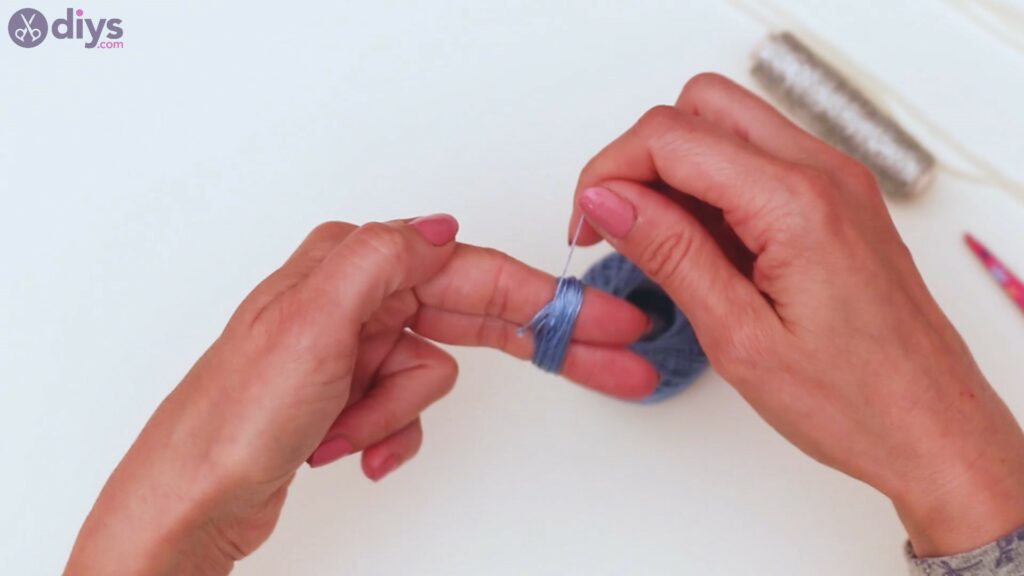
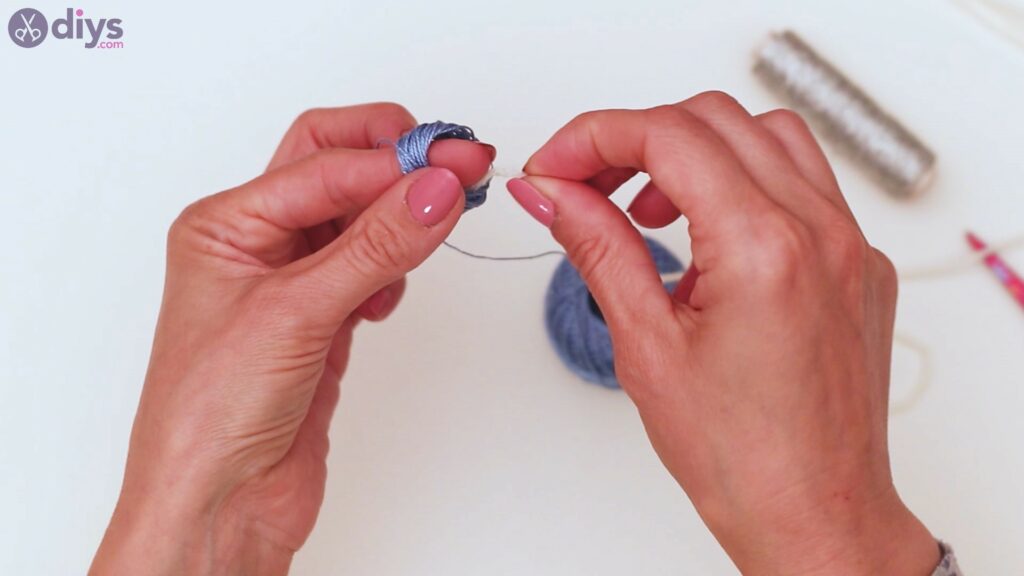
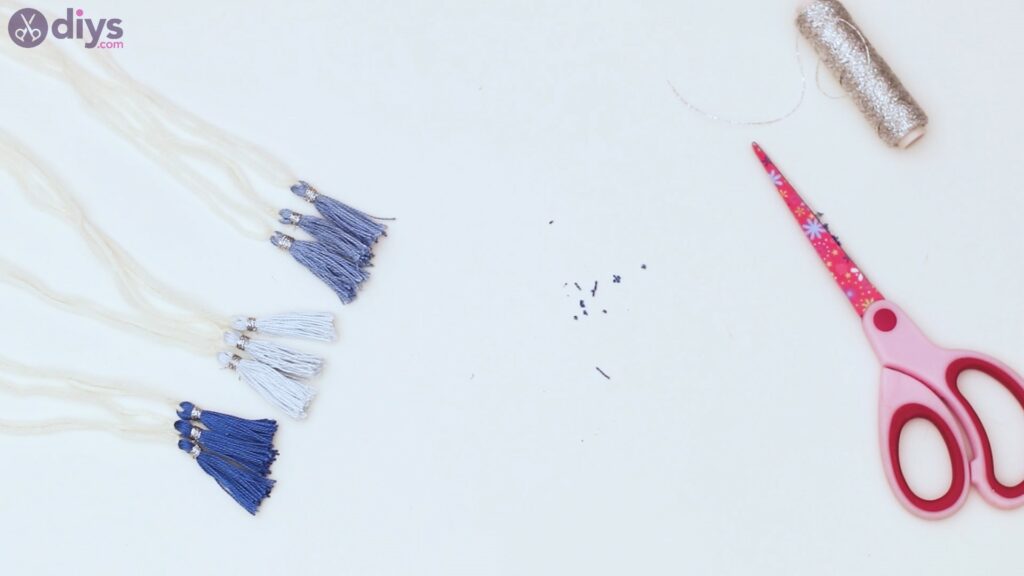
Step v: Create some tassels
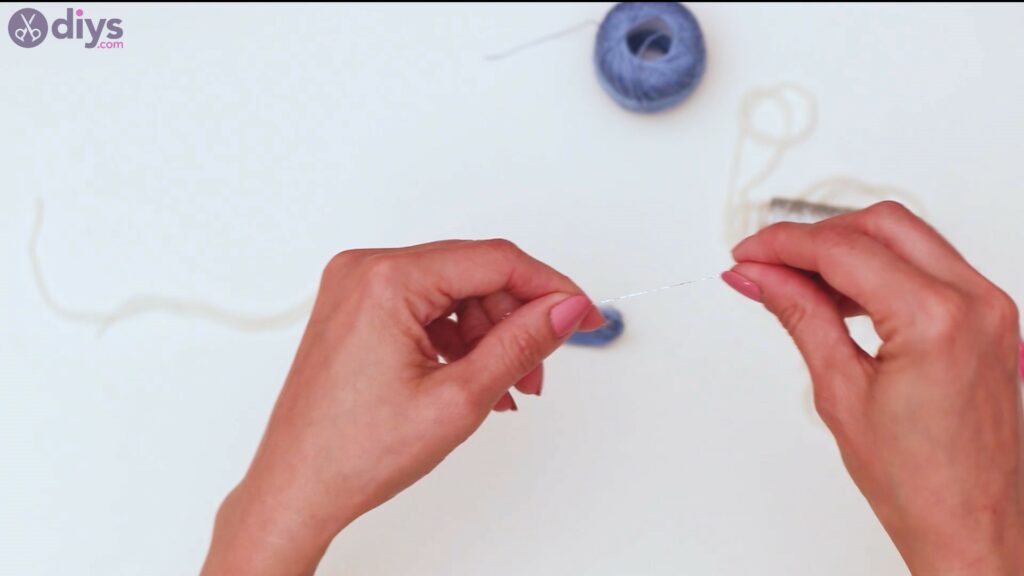
Now's the time to start creating some tassels. Go the lighter blue embroidery thread and start looping information technology around a couple of your fingers. Alternatively, you can too use a piece of cardboard.
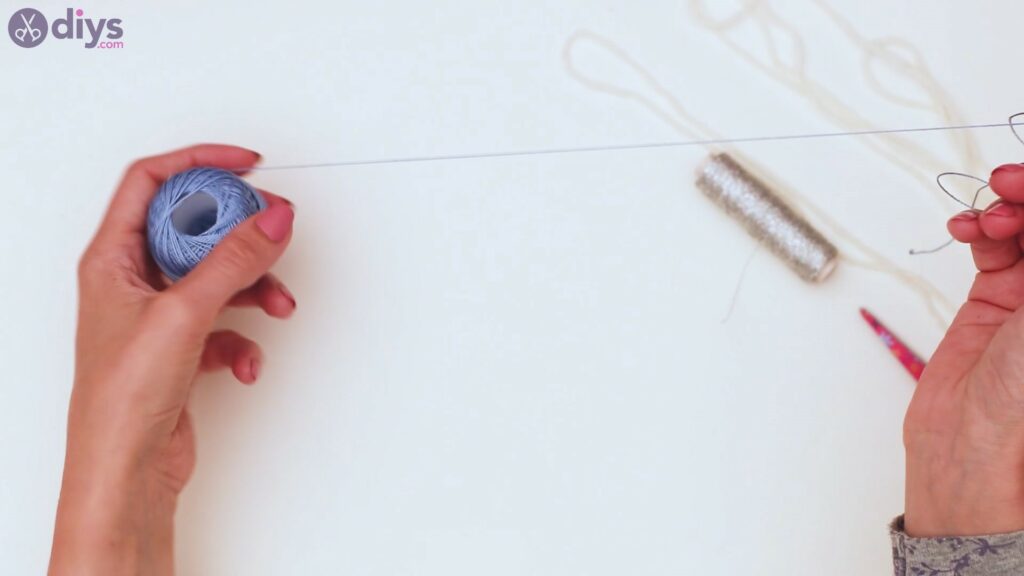

You can make these every bit thick as y'all want, to perhaps count how many loops you're making so you know to do the others the same.
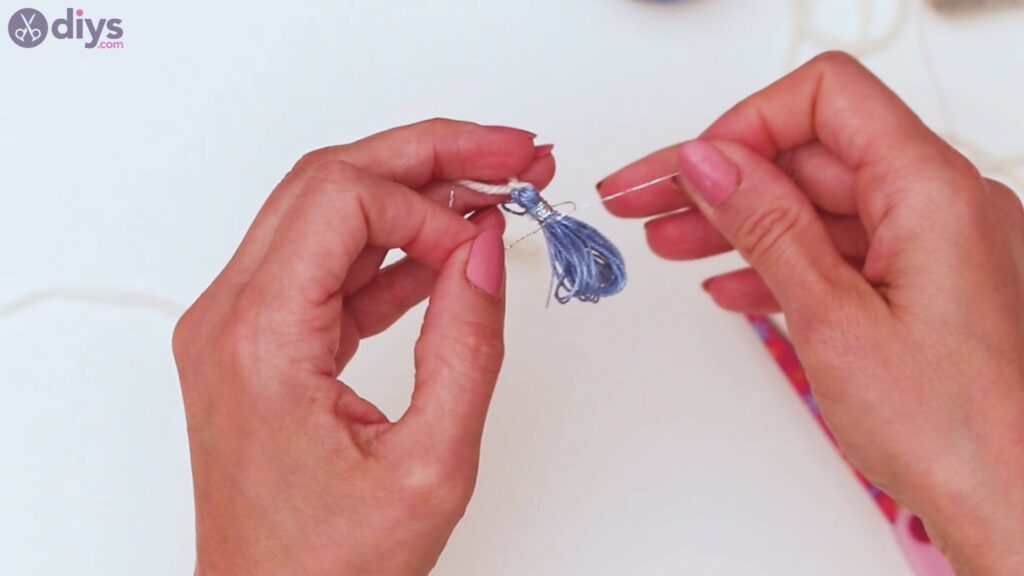
Bring one of the foam yarns you cut earlier and pass the end through the loop of embroidery thread. Brand sure the loop is in the center of the yarn piece and tie a knot.
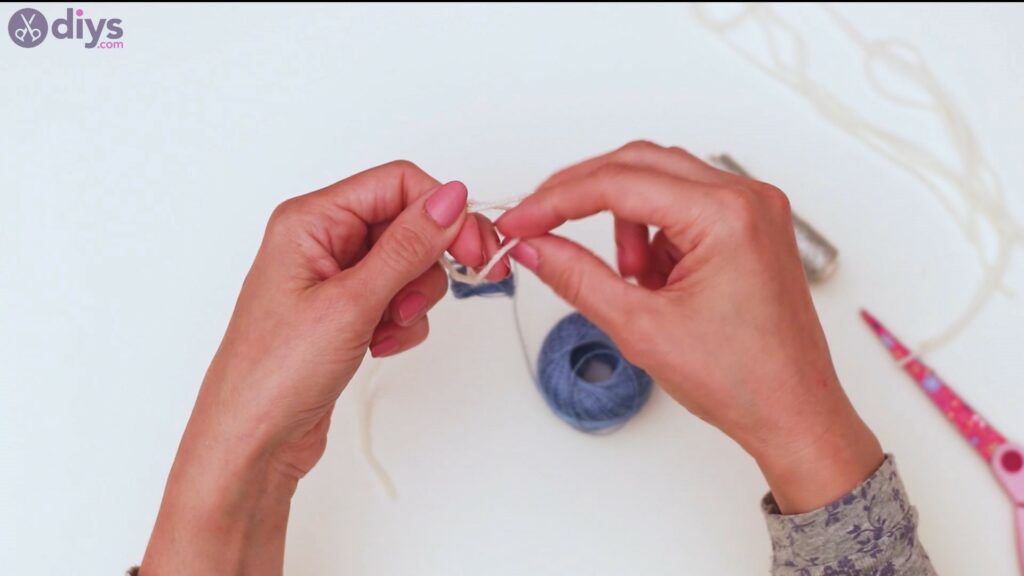
Get thescissorsand cutting the embroidery thread.

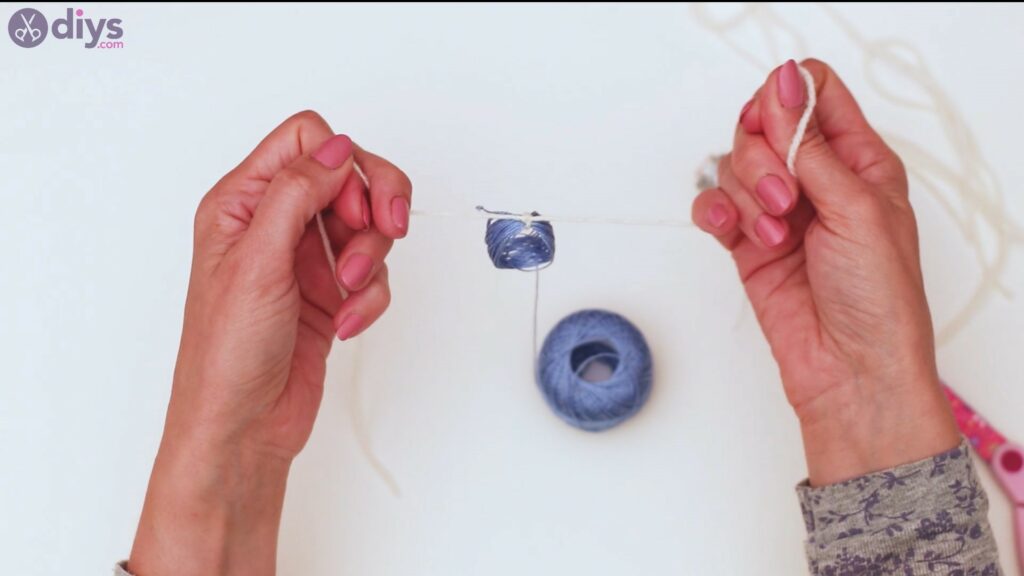
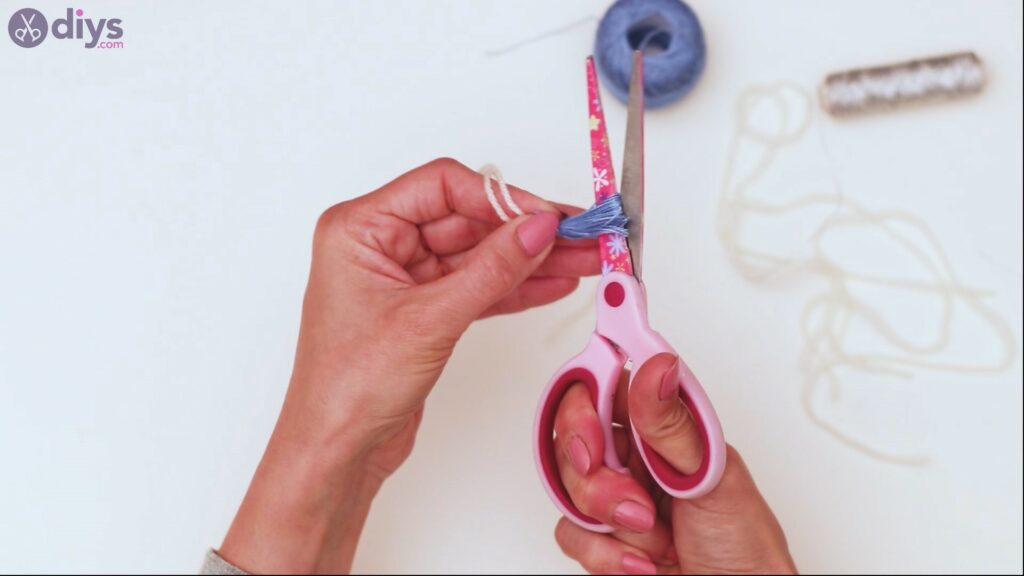
Get the aureate thread and start wrapping it around the top of the tassel. You want the thread to exist a little bit below the spot where you tied the cream yarn.
Brand multiple passes effectually the tassel and tie a couple of knots with the gilded thread.
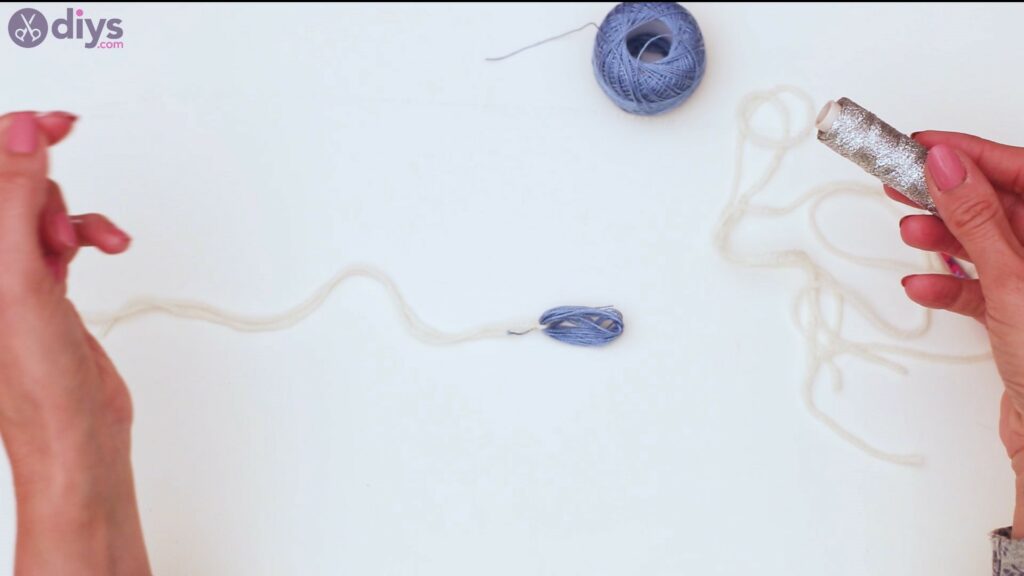
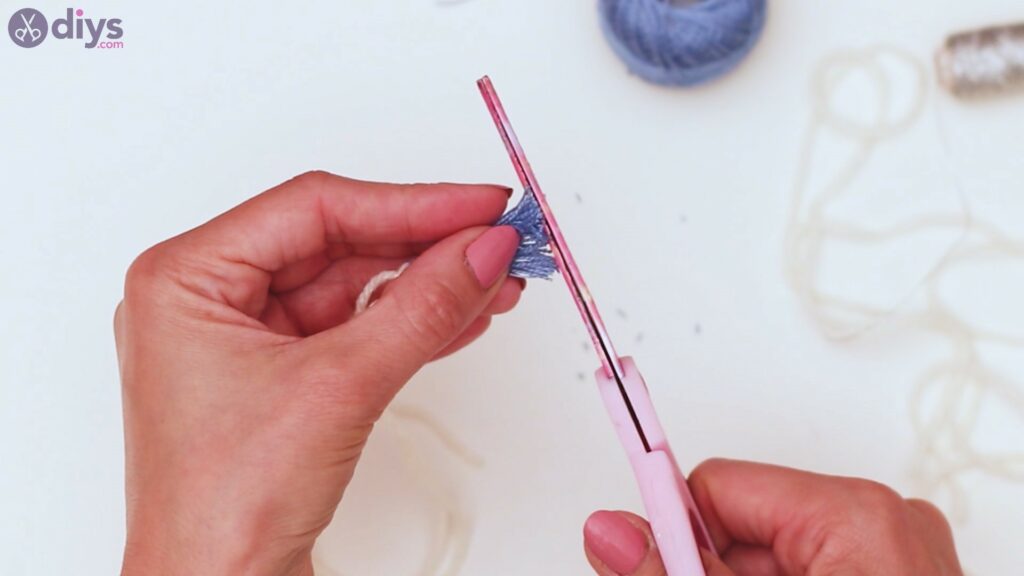
Utilise yourscissorsto cut through the middle of the thread loop, making sure to properly stretch it, making sure the cut is as straight as possible.
Then, use the same scissors to trim the tassel threads a scrap.
Make viii other tassels. You want to create iii of each blue shade you lot have for the embroidery thread.
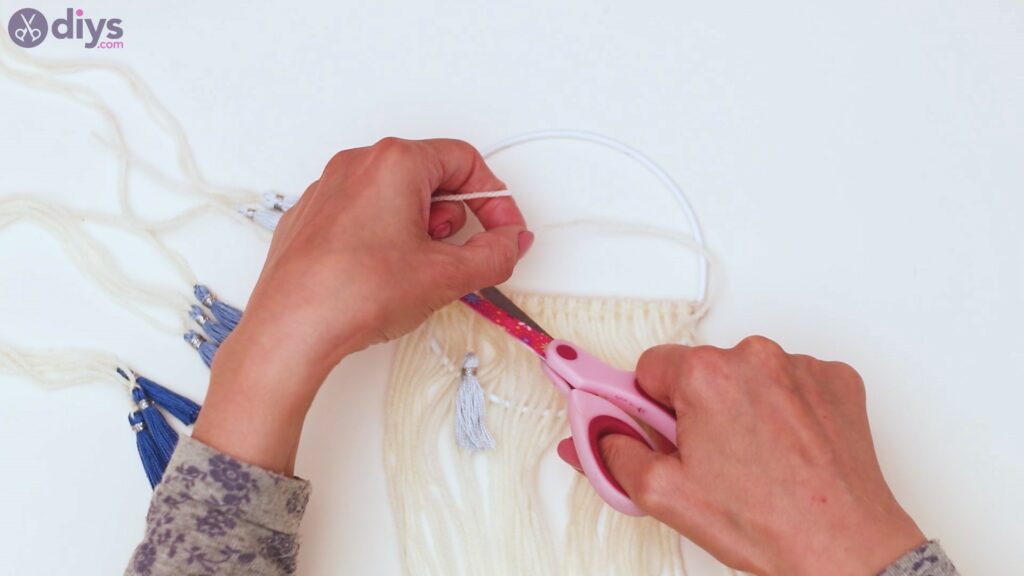
Step 6: Add together the tassels
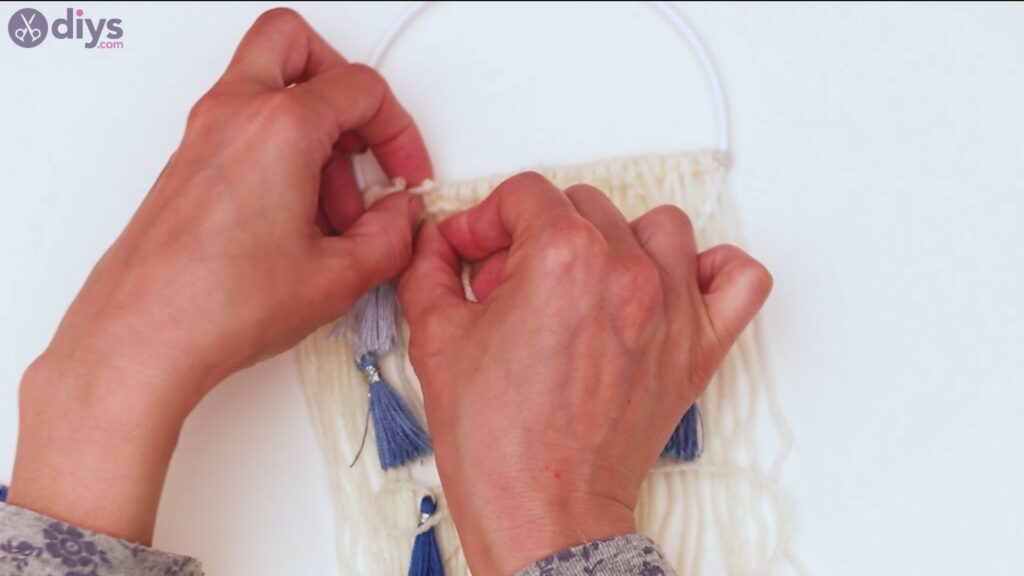
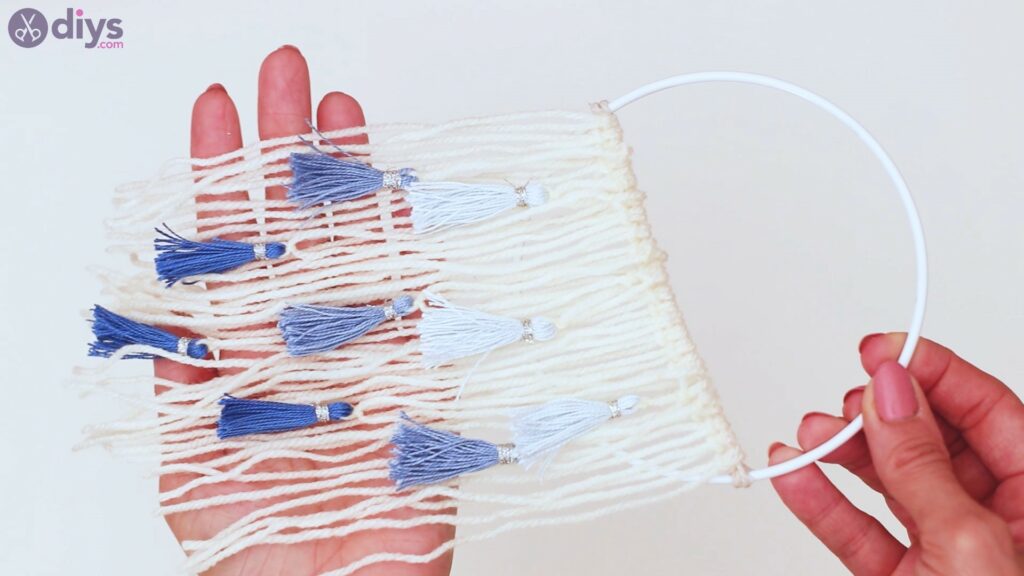
Now that your tassels are done, it's time you added it to your wall hanging. Selection the light blueish tassels and find a place for them in betwixt the threads you lot hanged earlier. We chose to make these tassels shorter, merely assuasive them about an inch of length hither. Too, the middle tassel got only a tiny chip more length.

You lot need to secure the tassel by simply tying a knot hither. Make sure it'south a double one, and so information technology doesn't get loose afterward.
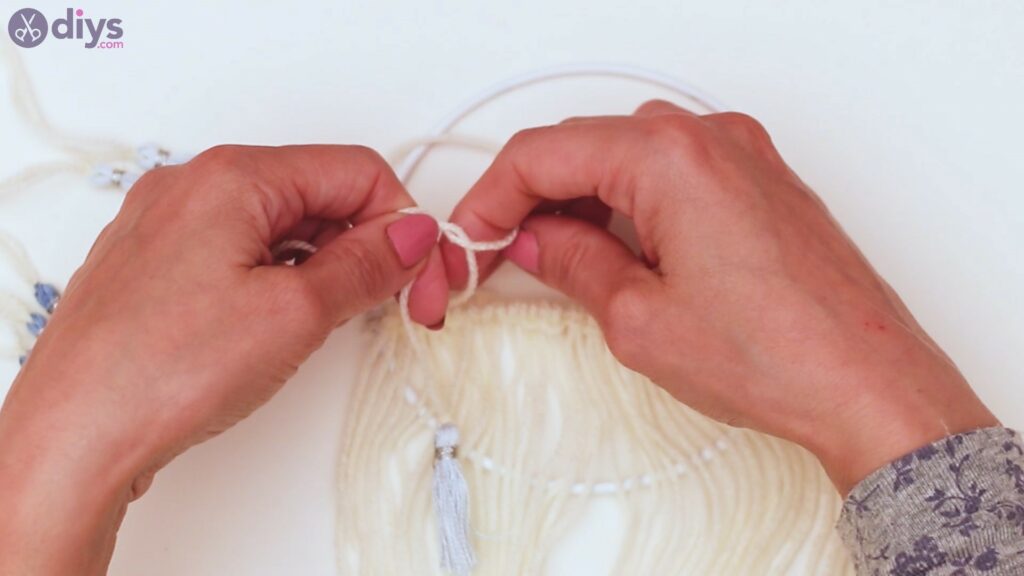
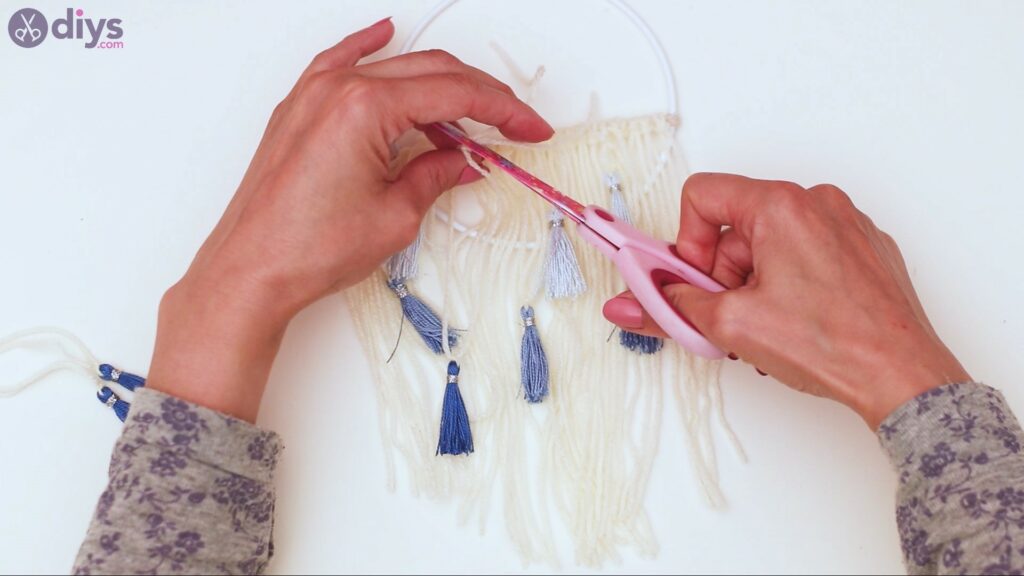
Get the scissors and cut the backlog thread before arranging the hanging yarns again.
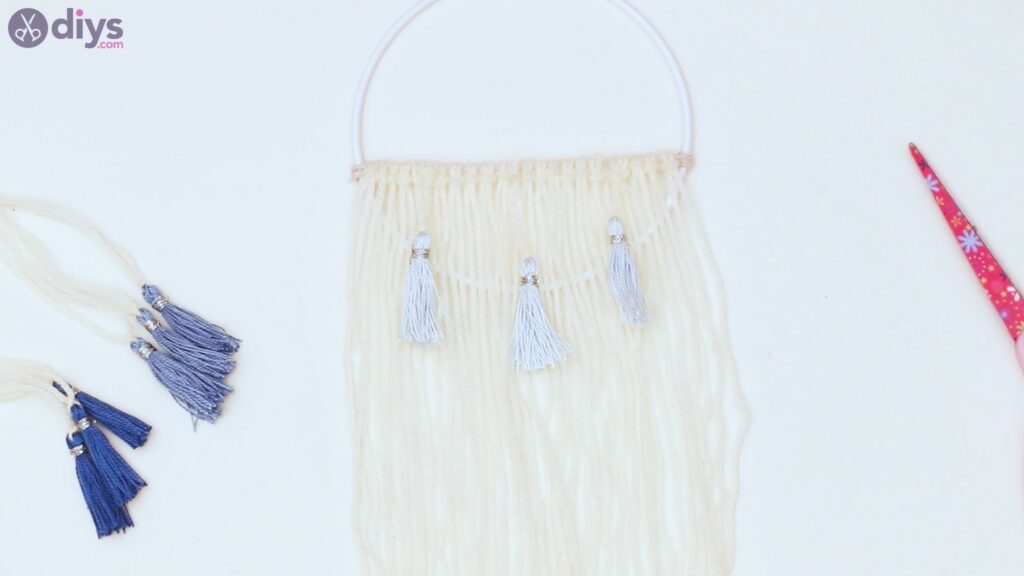
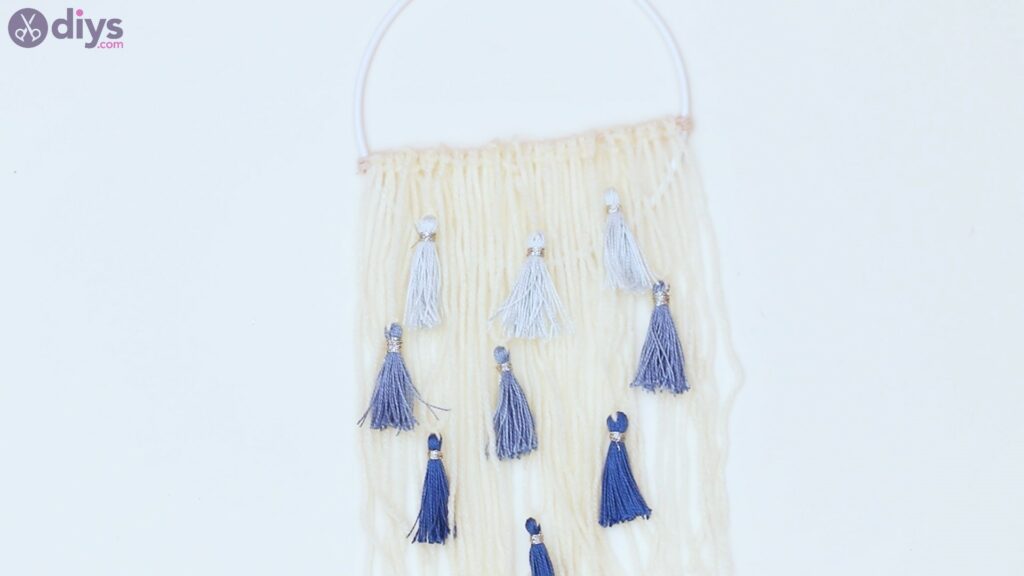
Wait! We accept the 3 lighter bluish tassels up!
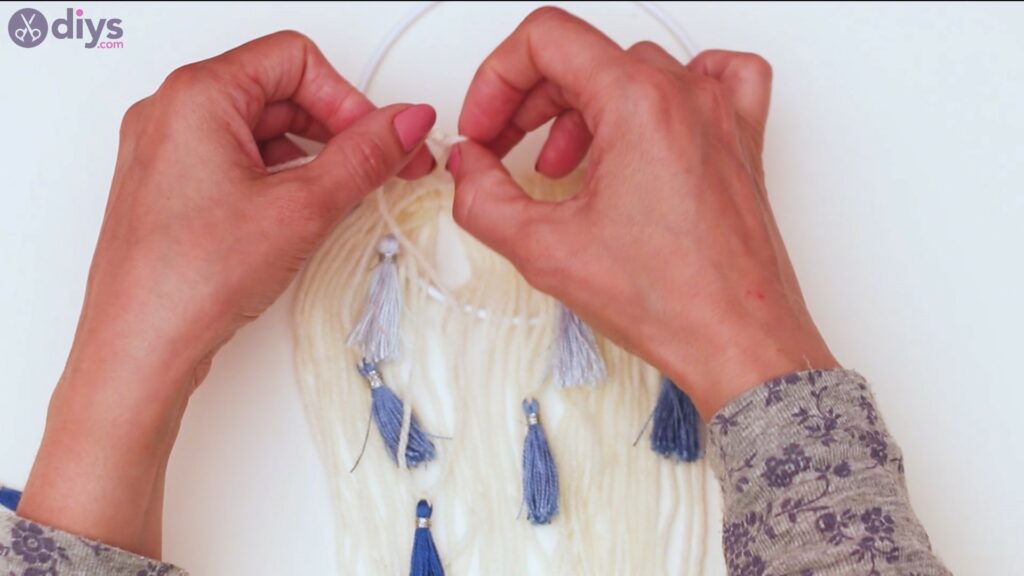
Next, let's get-go adding the mid-tone blueish tassels. Option a spot on the base line and beginning tying them like you did the first 3. Just, this time, give them a chip more than length. You want the middle row of tassels to be a bit beneath the get-go ane.
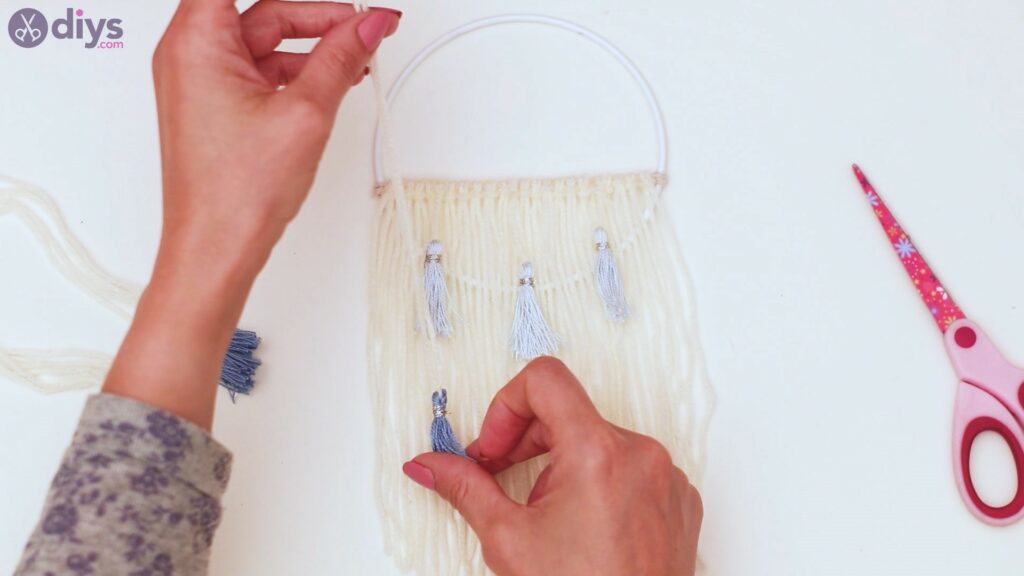
Every bit y'all can see, the second row of tassels falls but below the first one.
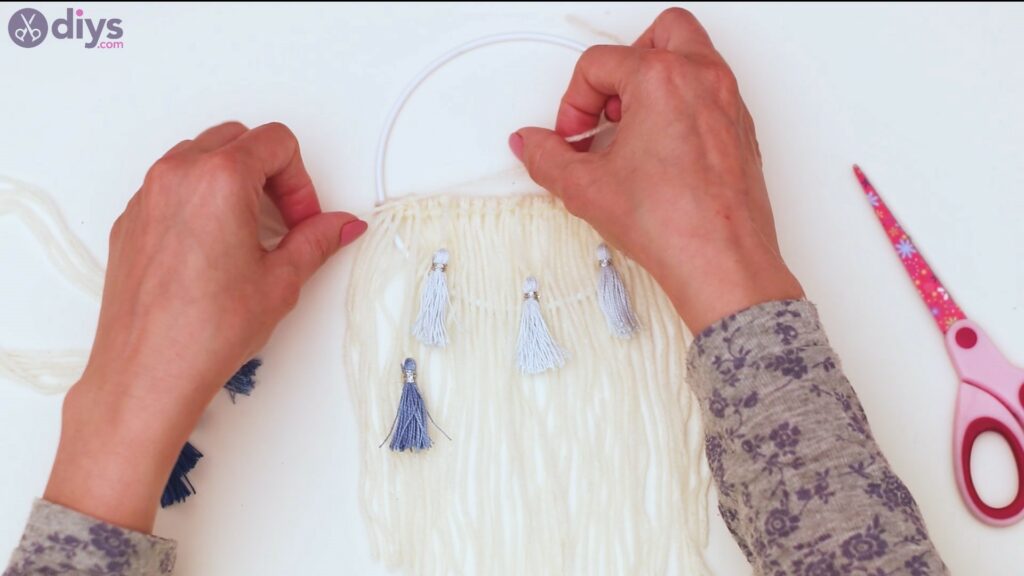
Let'south add in the last grouping of tassels too. Notice the right spots for them and tie them up on the base of operations line.
Cut the excess thread in one case yous've completed your knot. Likewise, brand sure the third row of tassels also falls only below the 2nd one.
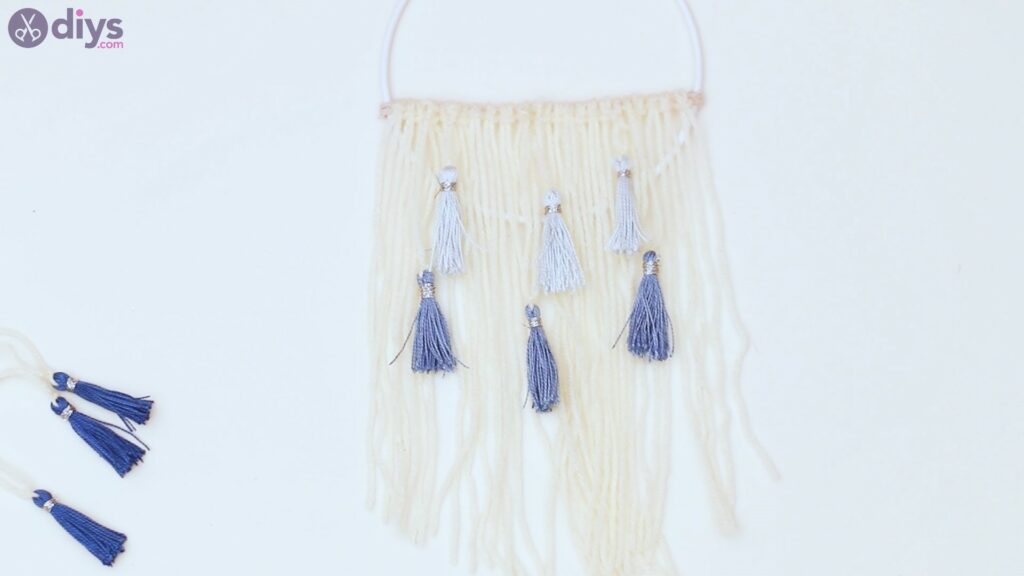
You can give them different lengths if y'all desire, merely nosotros think they look perfect like this!
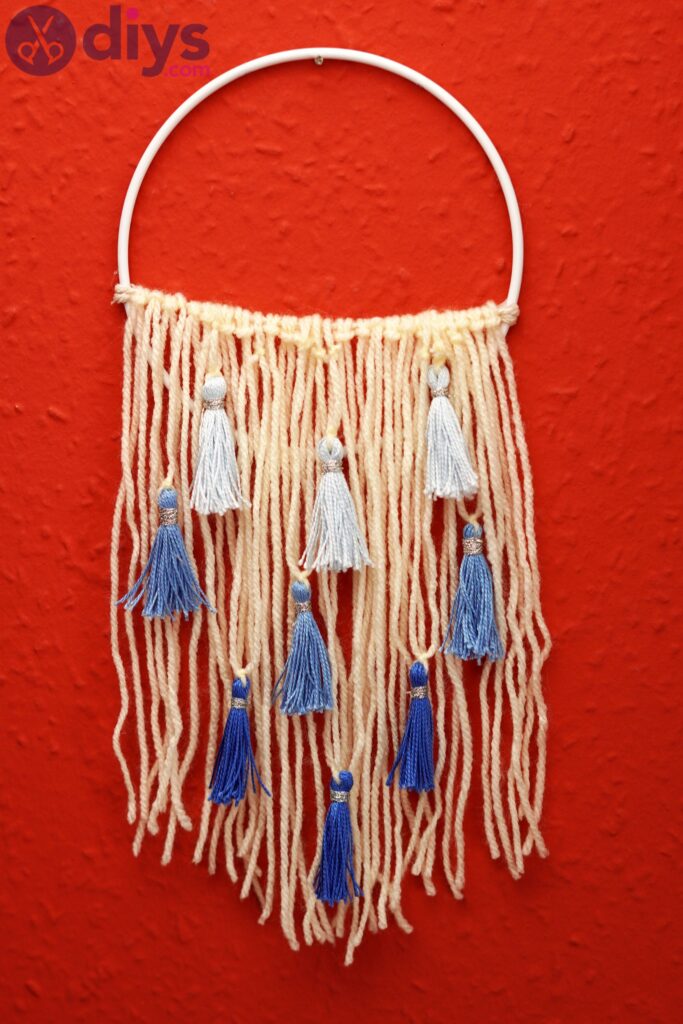
There y'all go! Your hoop and yarn wall hanging piece is done! Information technology's ambrosial and yous can put it up anywhere you want in your home. It'due south going to wait great no matter what and we feel similar you'll enjoy it every time y'all meet information technology.
Since this is a pretty customizable design, y'all can choose a unlike color for the yarn, as well equally for the embroidery thread we used for the tassels. You can become as big as you desire and yous tin can definitely give this decor piece more length if yous experience like it would piece of work better like that. Ultimately, it depends on the spot you want to put information technology up in and how much empty space there is to cover.
Driblet us a note in the comments department below and tell us what you call up nearly our design. As well, send us the pics with your creations over social media as we'd love to see them all!
Source: https://www.diys.com/hoop-and-yarn-wall-hanging/
0 Response to "DIY Hoop and Yarn Wall Hanging - Make A Beautiful Decoration for Your Wall"
Post a Comment